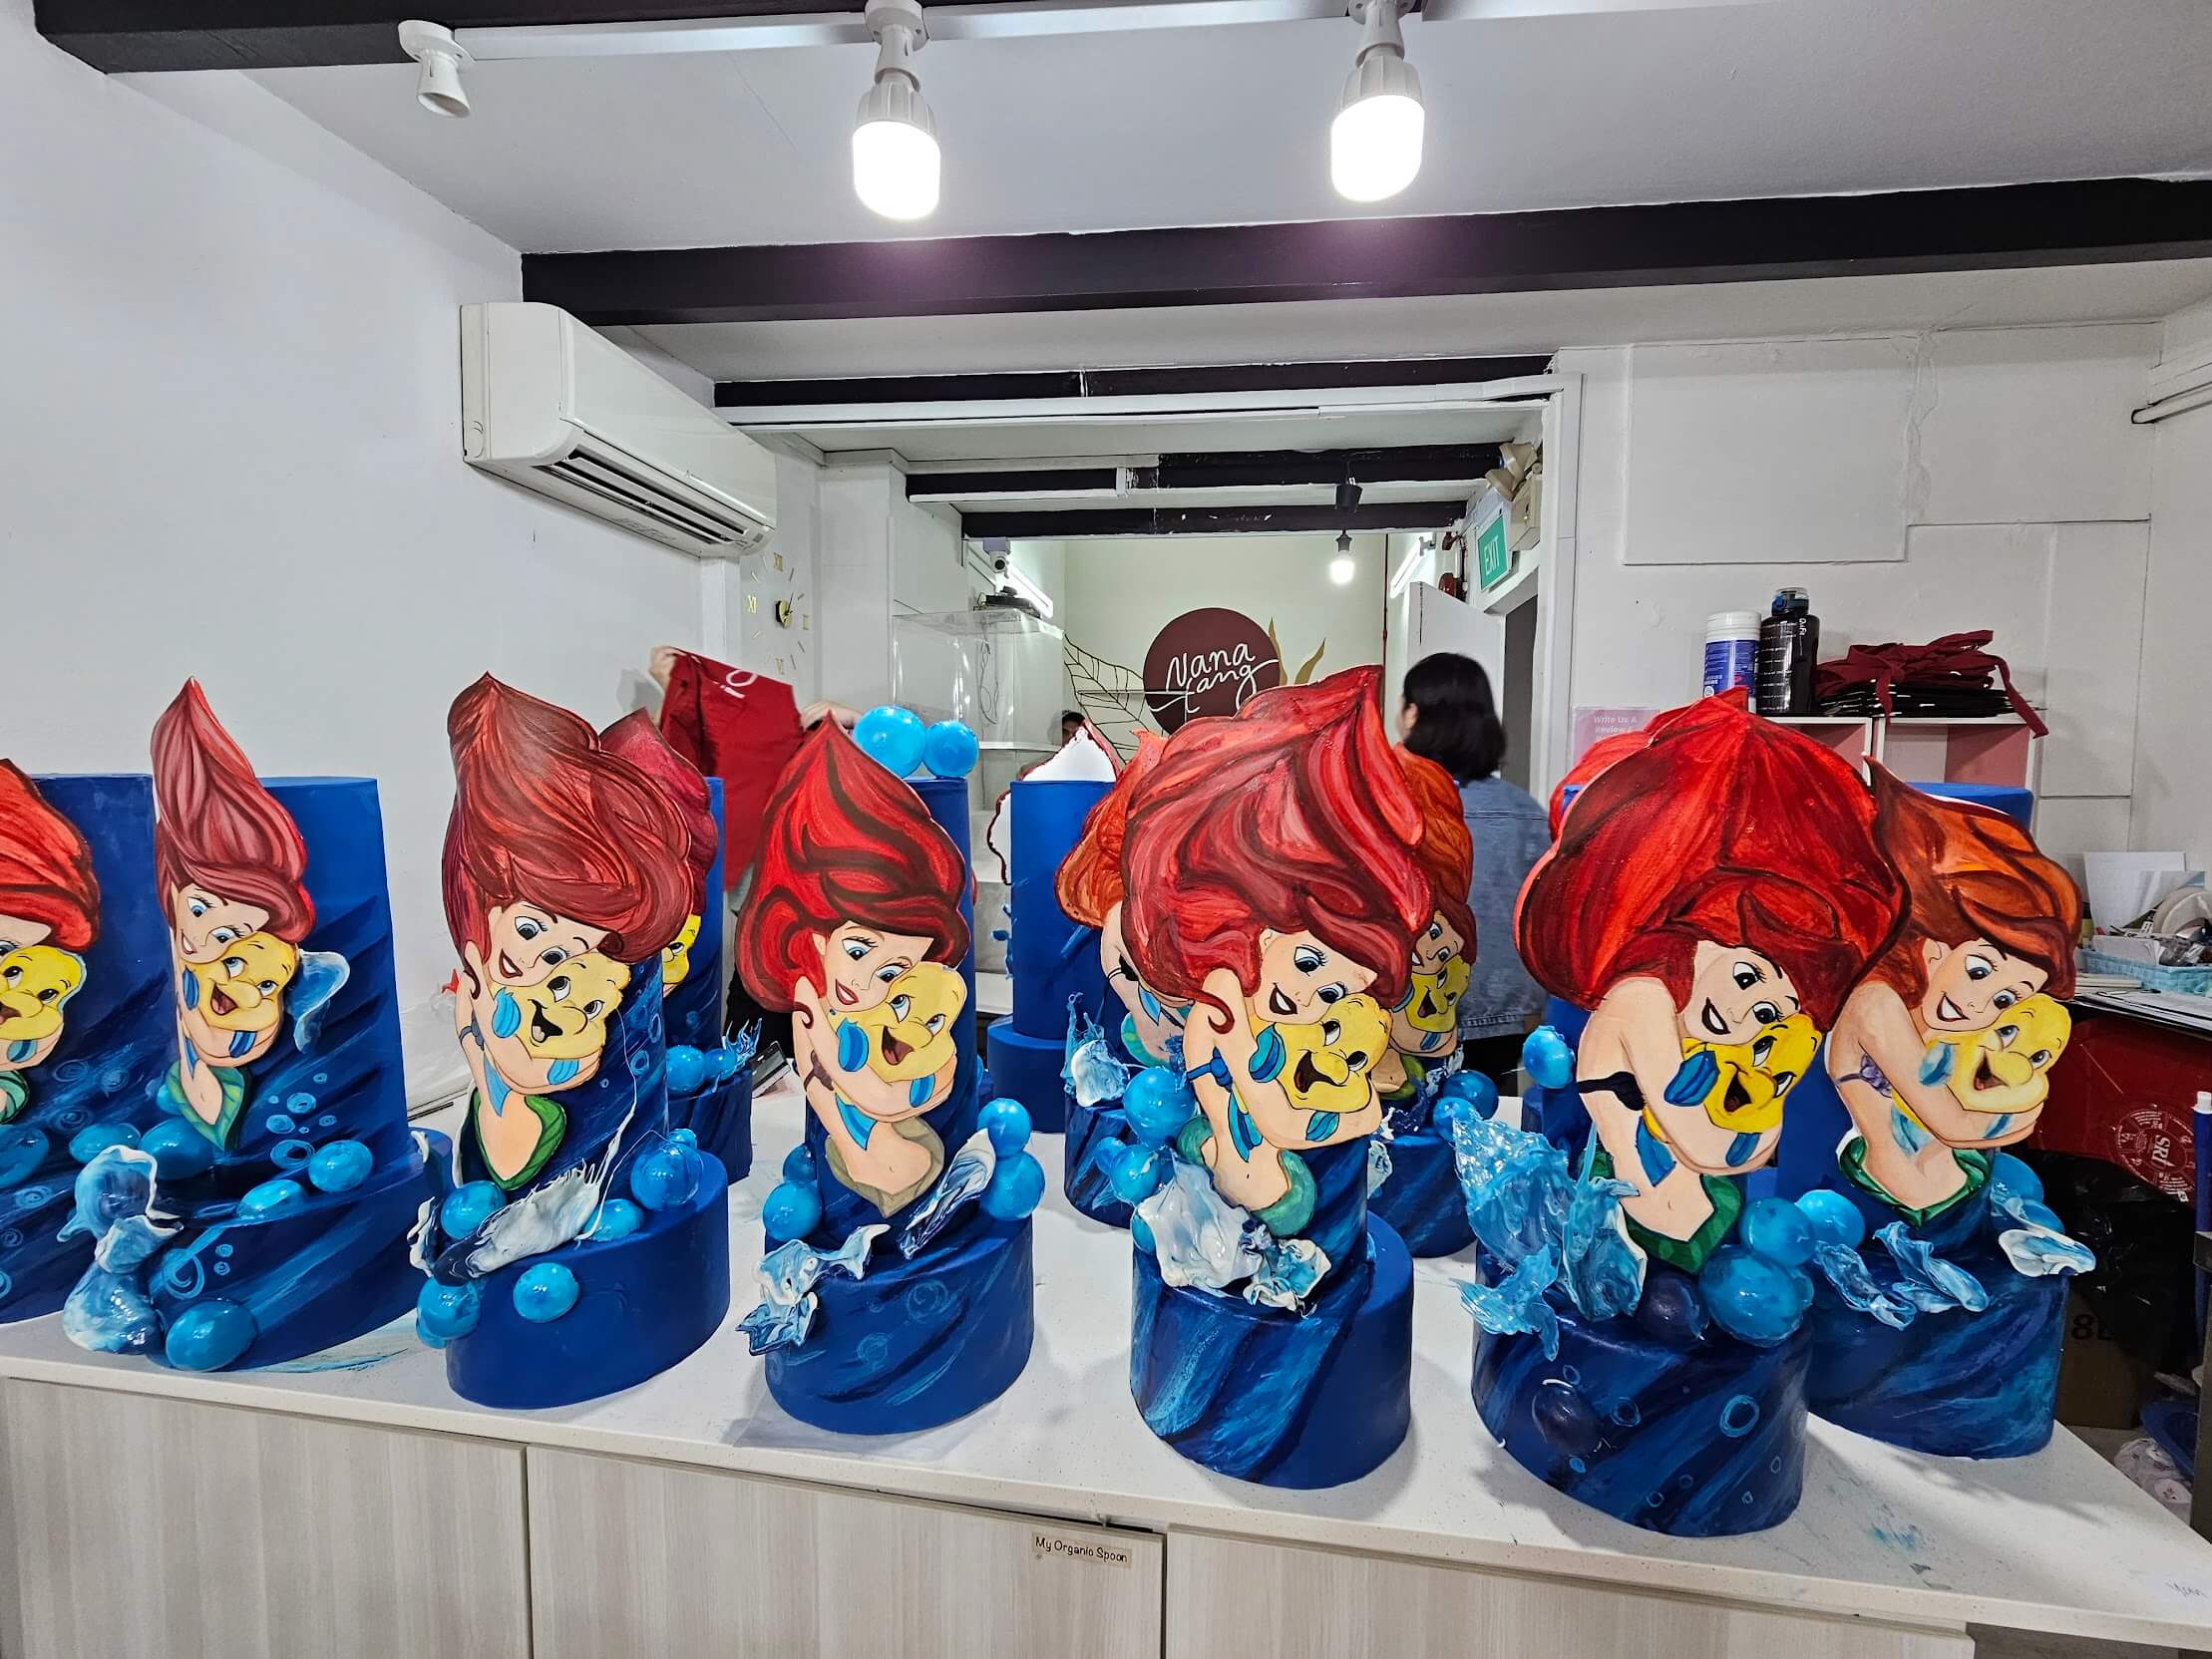
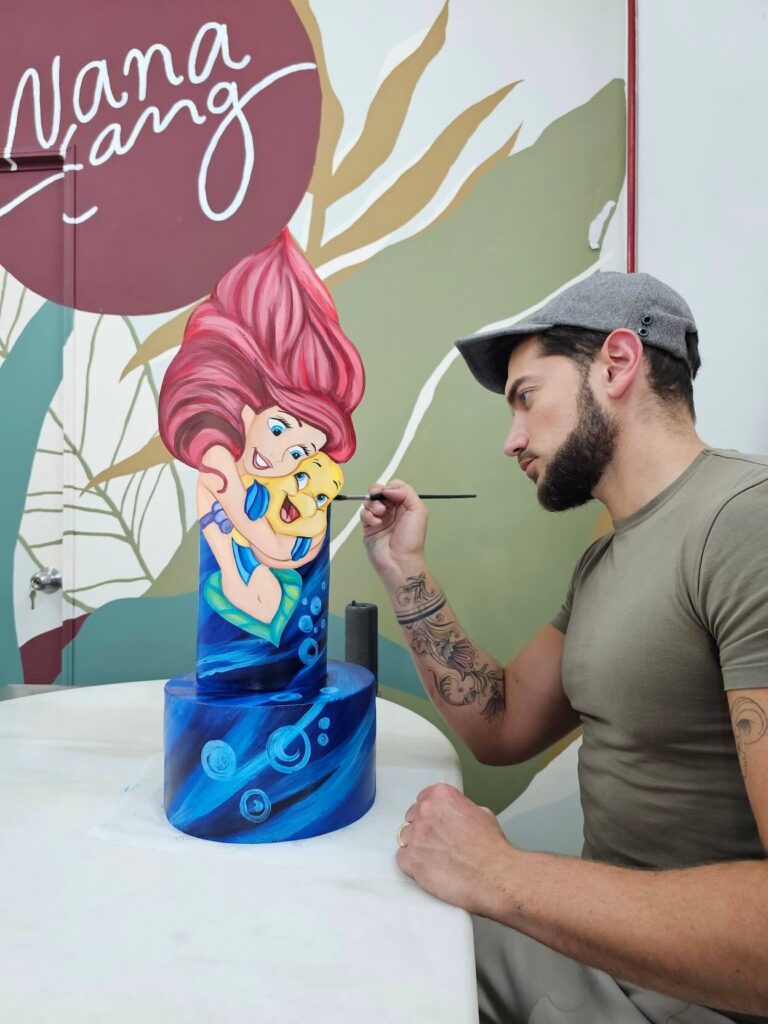
So, you want to make a stunning fondant-covered cake but the thought of working with it feels intimidating? It can certainly feel that way at first! Many bakers break into a cold sweat at the mention of fondant—it can be sticky, fragile, or just a lot to handle. But guess what? With the right tips and a little patience, fondant can actually be fun. Take it from us at Nanatang, where we’ve gone from fumbling with our first lumpy fondant attempts to creating picture-perfect cakes that make people do a double take ????
That said, there’s no one better than us to help you take that leap of faith. This guide will walk you through everything you need to know, from choosing the right fondant to smoothing out those pesky wrinkles. When you’re ready, we’ll also be here with a spot at our fondant workshop for you. Now, let’s turn that fear into love!
Fondant is a smooth, pliable icing used to cover cakes or create decorative elements. The most common type is the rolled variety, which has a dough-like texture and is perfect for creating sleek, polished cakes. There’s also poured fondant, which is a liquid version used for glazing pastries—but that’s a topic for another day because most beginners kick off with rolled fondant first.
When it comes to choosing fondant, you have two main options: store-bought or homemade. Store-bought fondant is ready-made fondant, meaning it’s obviously convenient and confidently consistent in texture. Homemade fondant, such as marshmallow fondant (marshmallows + icing sugar) can be more affordable and customisable, but requires a bit of practice to nail down. Generally, we recommend grabbing pre-made fondant to eliminate extra variables while you learn the basics!
You don’t need a ton of fancy equipment to work with fondant, but having a few key tools will make the process much smoother. A non-stick rolling pin is non-negotiable for evenly rolling out your fondant. If you don’t have a fondant-specific roller, a regular rolling pin lightly dusted with cornstarch or powdered sugar will work just as well.
A fondant smoother is a game-changer, as it helps squash air bubbles for a flawless, professional finish. You’ll also want a sharp knife or pizza cutter for trimming excess fondant and a small brush for applying water or edible glue when attaching decorations. Some optional but helpful extras include fondant mats for rolling and shaping tools if you plan to make intricate designs.
Before you even touch the fondant, your cake needs to be properly prepped. Start by ensuring that it’s chilled, as this makes it firmer and easier to manipulate. Then, apply a thin layer of buttercream or ganache as a “crumb coat” to seal in any loose crumbs. This also helps the fondant adhere better to the cake.
Once your crumb coat is set (after approximately 15 to 30 minutes in the fridge), check for any bumps or imperfections. Consider using a bench scraper or spatula to smooth out any uneven spots, because fondant is merciless and will show every little flaw underneath. If you’re working with a layered cake, make sure it’s level and sturdy first—a wobbly cake will make fondant application much harder than it has to be!
Fondant can be stiff straight out of the package, so kneading lays the foundation for its pliability. Start by working a small piece in your hands until it softens and becomes stretchy. If it feels too dry, don’t panic—a tiny bit of vegetable shortening can help restore moisture. Avoid overkneading, however, as this can make the fondant excessively soft and sticky.
When rolling, aim for an even thickness. As a rule of thumb that’s about a quarter inch, which is the ideal amount for covering cakes. Dust your work surface with cornstarch or powdered sugar to prevent sticking, but as usual, avoid overdoing it because too much can dry out the fondant. Start from the centre and roll outwards. Turn the fondant occasionally to maintain an even shape. Don’t forget to lift and reposition it as needed to prevent sticking.
This step feels like a long time coming, but the moment of truth has ultimately arrived! Carefully drape your rolled fondant over the cake, starting from one side and gently smoothing it down. Use your hands to press out any air bubbles, working from the top down to the sides. And, if you notice wrinkles, gently lift and adjust the fondant—never stretch or pull it as this is precisely what causes tearing.
Once the fondant is in place, use a smoother to press out any remaining bumps and create a clean finish. Trim the excess at the base with a sharp knife or pizza cutter. If you spot any small cracks or imperfections, a lick of water can help mend or fade it away.

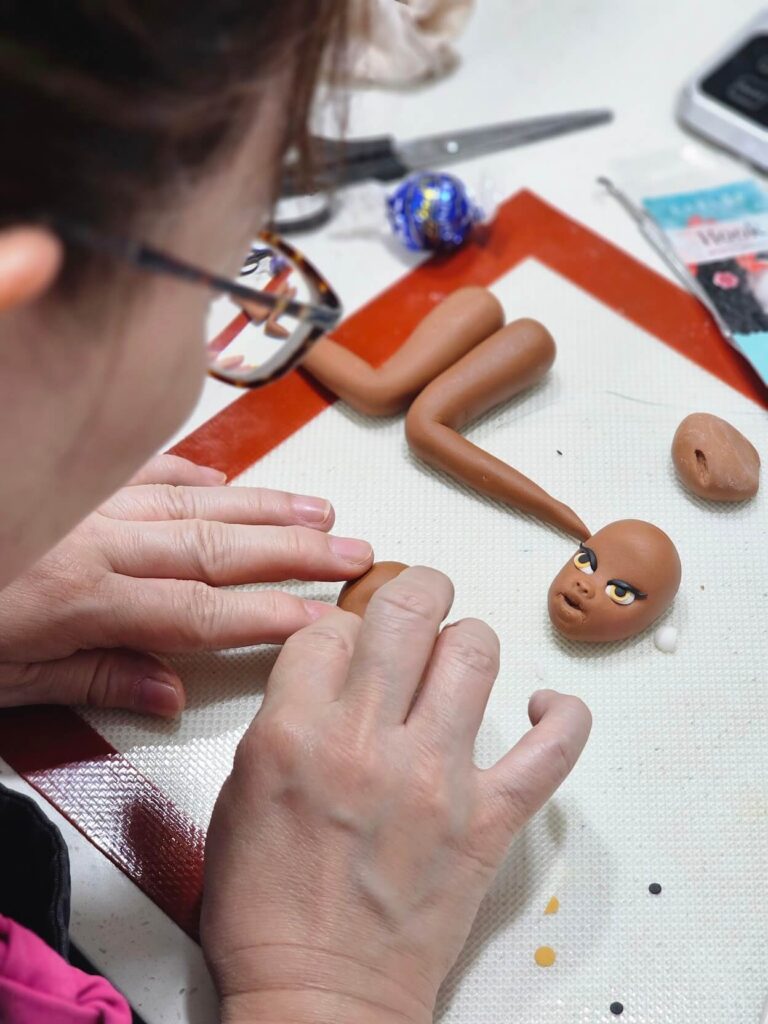
Now, for the fun part—decorating! Fondant allows bakers to unleash their creativity, from simple cut-out shapes to intricate sculpted designs. Use edible glue or a dab of water to attach decorations. If you’re adding colours, gel-based food colouring works best. In our opinion, it’s wise to avoid liquid, as it can alter the fondant’s final texture.
Once decorated, store your cake in a cool, dry place. This is because fondant isn’t so fond of humidity; in muggy conditions, you’re risking bleeding colours and streaking down the sides of your cake. That said, if refrigerating, let it come to room temperature before serving to prevent condensation. And last but not least, don’t stress over perfection—some mishaps are normal, and what matters most is that you had fun and learnt something new!
Fondant might seem scary at first, but like any basic skill, it gets easier with practice. Start with simple projects, like covering a small cake or making basic shapes, before moving on to more elaborate designs. Remember that even the most beautiful fondant cakes started with a beginner’s shaky hands!
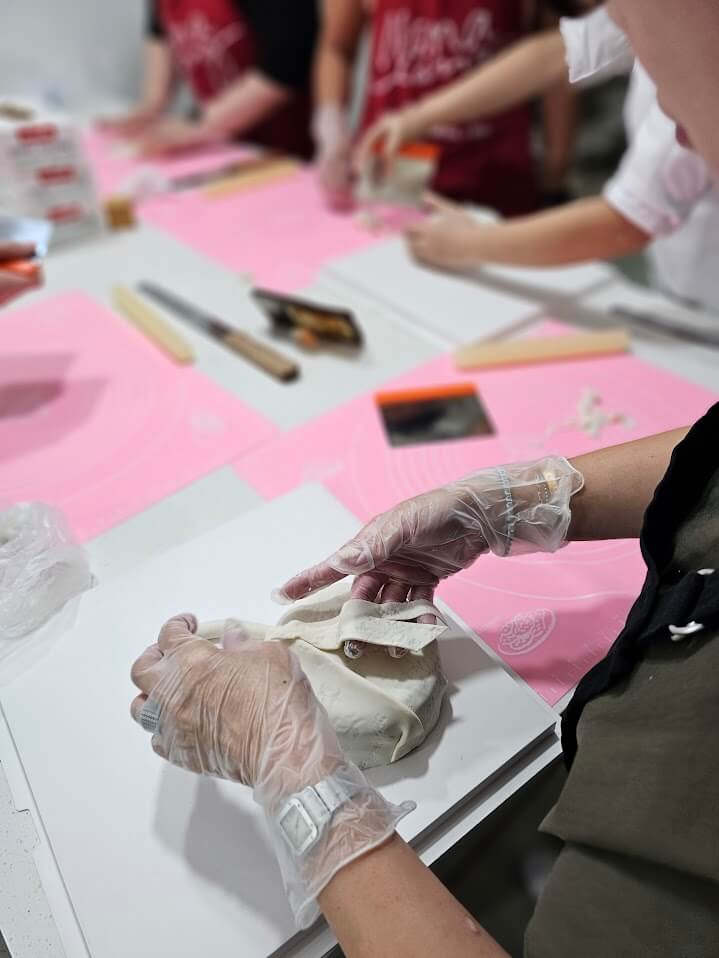
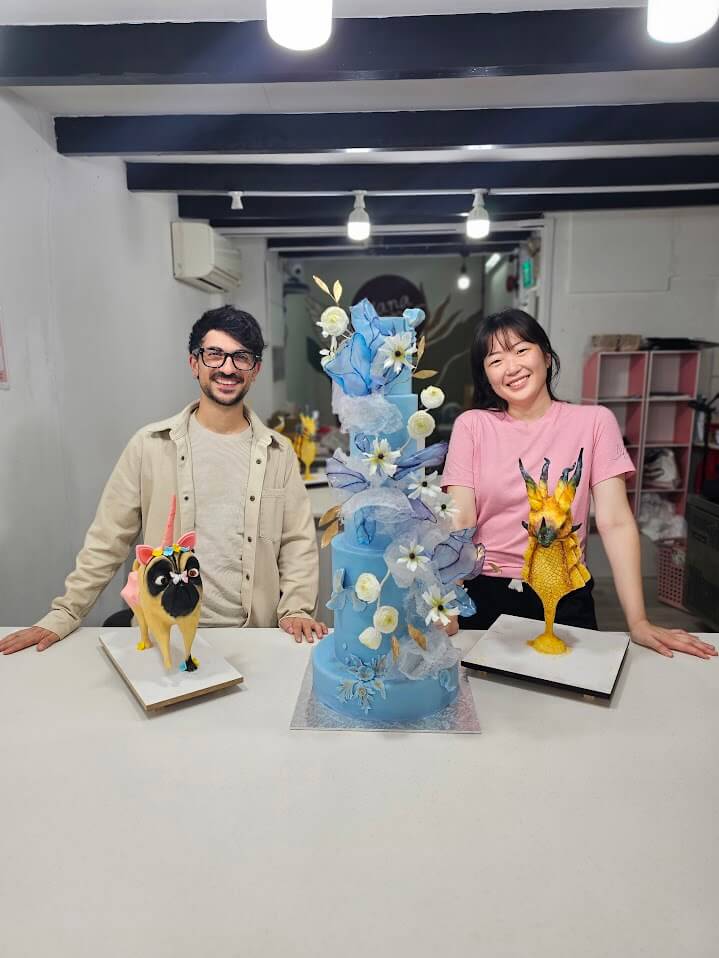
Still hesitant to push past the fear? At Nanatang, we live for those precious, fleeting moments when nervous beginners suddenly transform into confident decorators. Join one of our hands-on cake decorating workshops, where you’ll receive personalised guidance, insider tricks, and best of all, leave with a cake you’re proud to show off. Whether you’re dreaming of pristine fondant wraps or gravity-defying sugar flowers, we’ll help you make it happen.
Spots fill fast! Click here to browse all our upcoming workshops today and let’s create something amazing together. Nanatang is where dreams and passion come to life!